WALLFLOWER INSTALLATION
Setting up The Wallflower is quite easy.
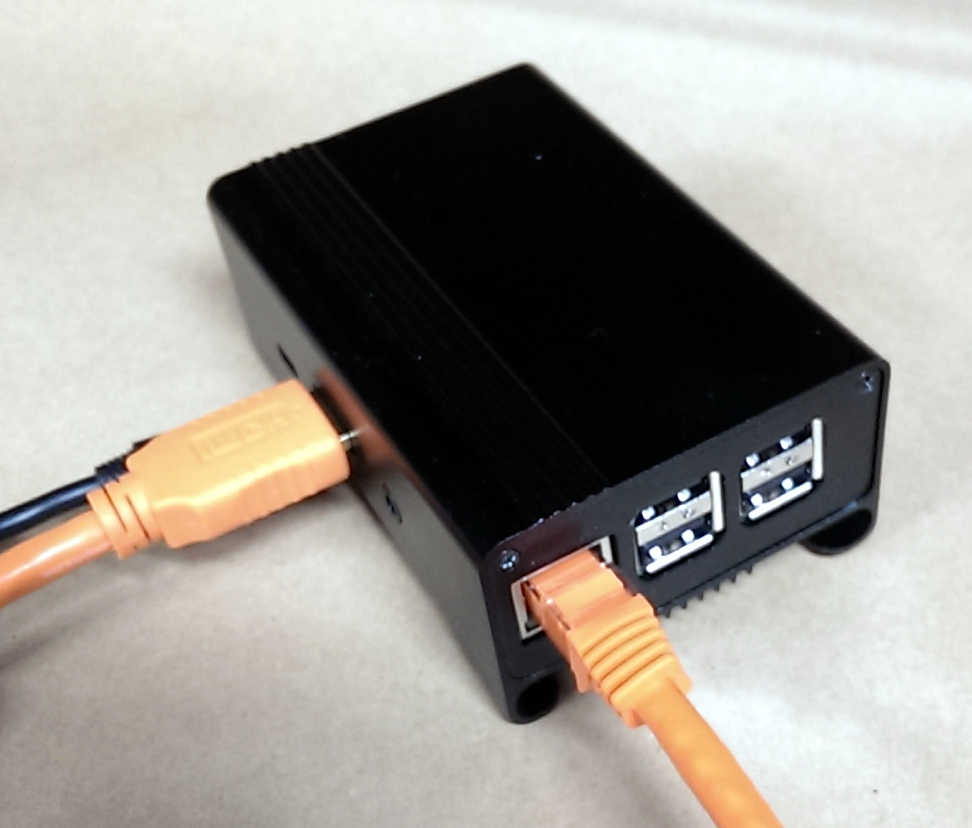
In the pictures below you will see the various connections on the deviceFor most applications you will only need to know 3
1) HDMI Cable
2) Network Cable
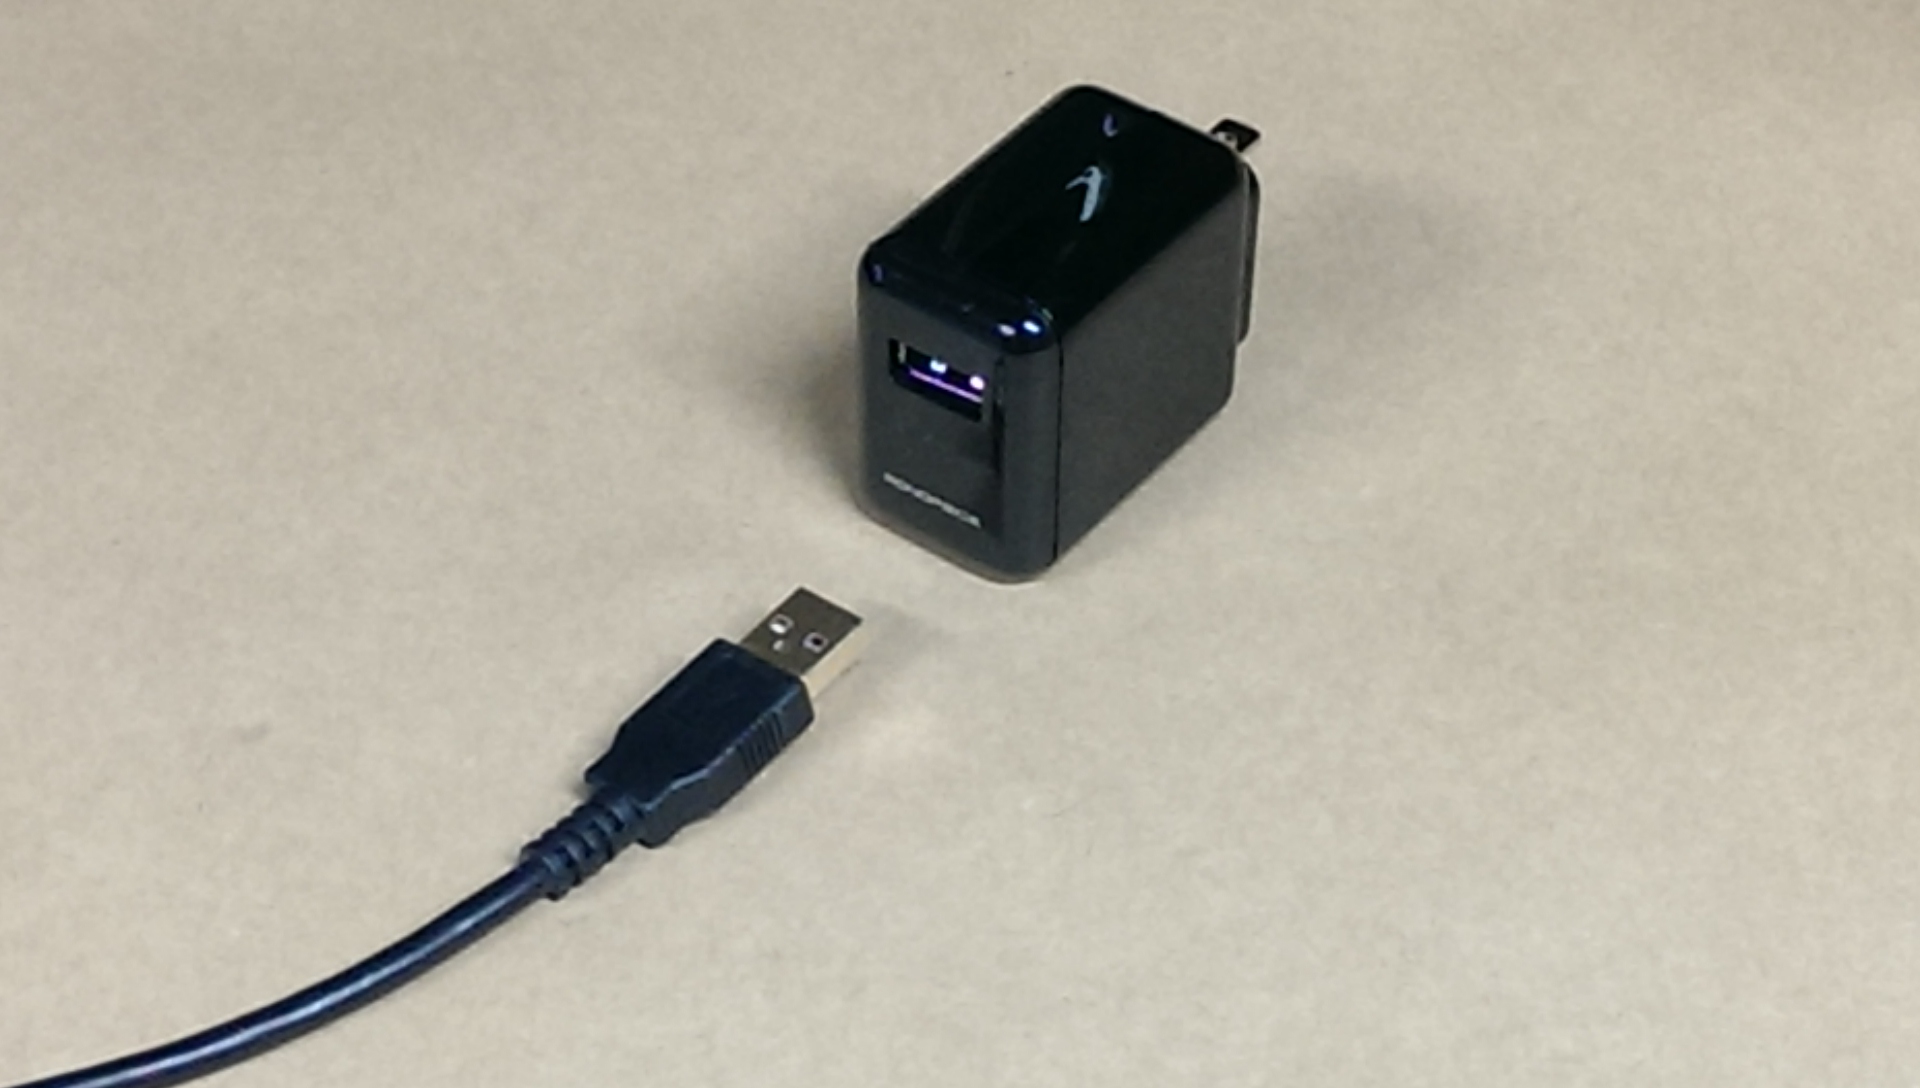
3) Power Cable
Connect the HDMI cable to the Wallflower and to an HDMI input on your monitor. Be sure you set the monitor to view the input you connected the HDMI cable to.
Finally, connect the power cable to the Wallflower and plug the USB power supply into a 120 volt wall outlet.
SUCCESS
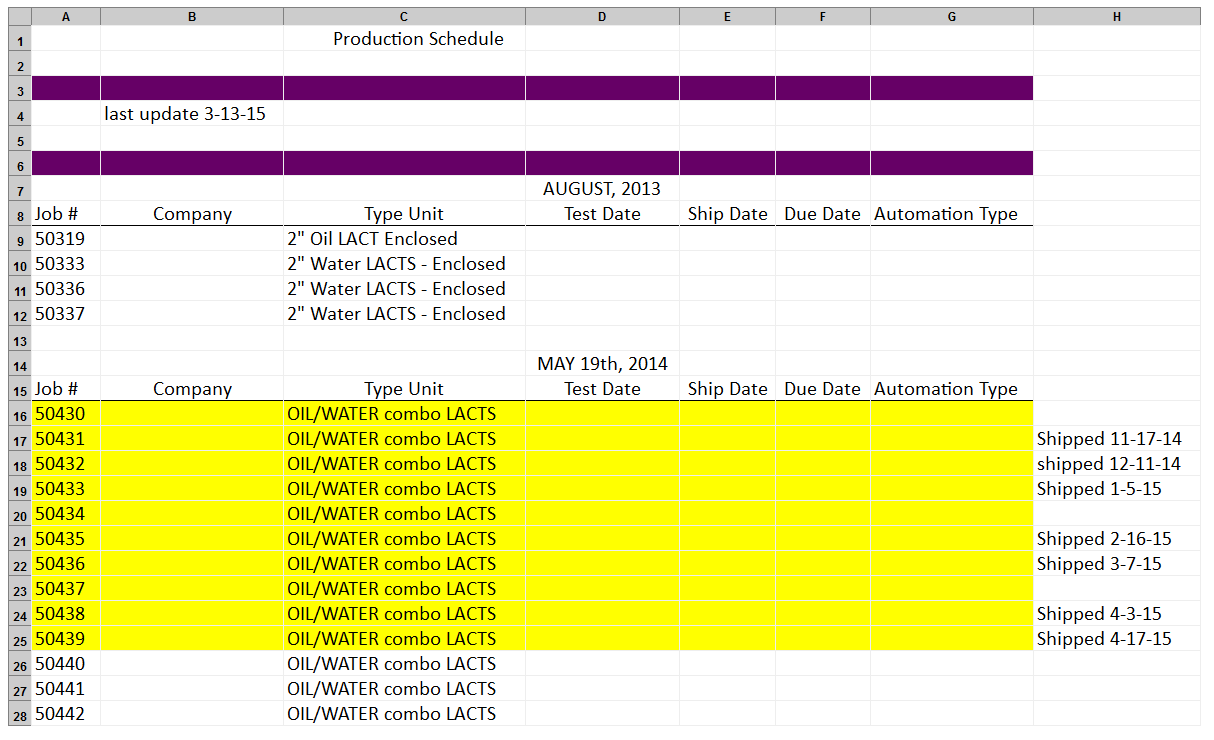
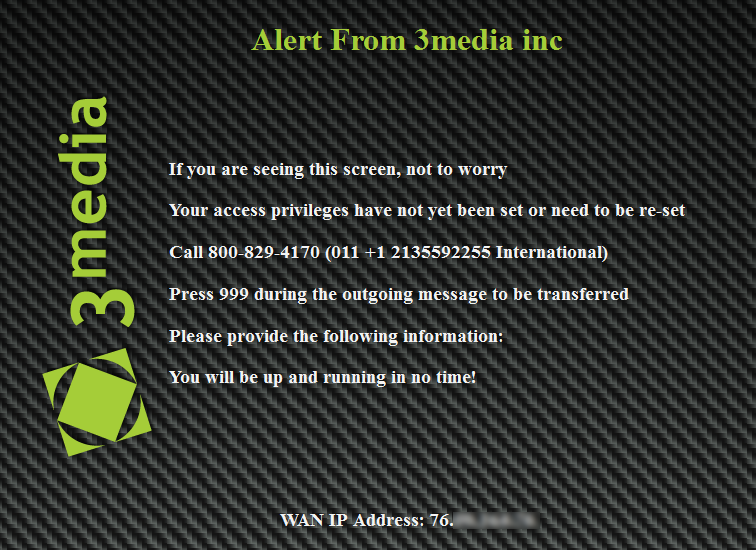
If all went well, you should see the following screens.
It will take a couple minutes for the Wallflower to connect to the server.
You’ll need to call the number listed and provide the WAN IP address.
Once that step is complete, your display will go live.
After activation, your display should show whatever content you designated (spreadsheet, video, images etc…).


